USD EUR
Price: 220.00 USD
Availability: temporarily unavailable
Automatic notification of the availability Do you want to be notified directly when the product is available? We will send you a report on this. Once the product is available, a message will be sent to you automatically and your e-mail will be deleted from our database. This registration does not commit you to buy this product. Weight: 0,400 kg
Order code: MPR-EHX-X9-C-MOD
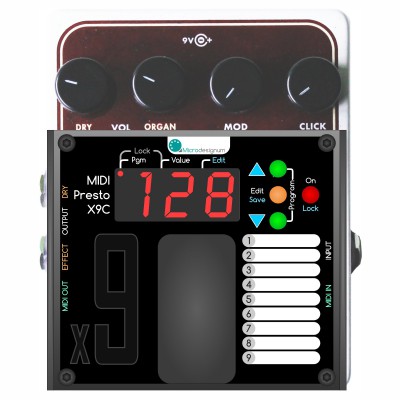
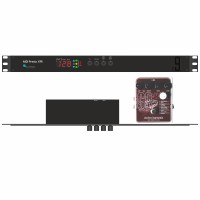
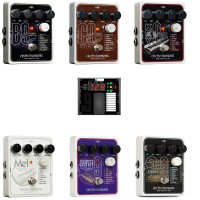
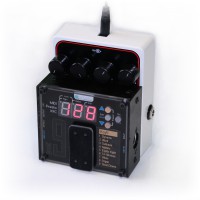
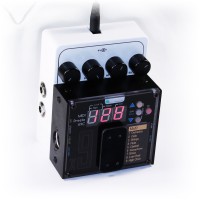
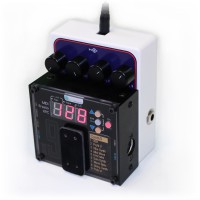
MIDI module for EHX B9/C9/Key9/Synth9/Mel9 pedals with full control of all functions: programs (1 - 9), 4 buttons and On/Off.
It is intended to be built into the pedal. The pedal is not a part of this product.
Parameters
21.04.2019
Solder 16 wires and one component for full control
The installation takes cca 1 hour. There is no drilling, only soldering and cutting off. There are few steps of the install process: power supply, footswitch, potentiometers and program selector replacement. All steps are necessary to achieve full control of all parameters. We recommend to test the sound of the pedal at the end of each step .
Number of photos in the gallery: 20
Purchase MIDI control module for EHX x9 in our eshop.
Unscrew the bottom screws of your x9 pedal.
Open the bottom lid.
The x9 pedal is opened.
Unscrew all signal connectors.
Unscrew foot switch.
Take out the buttons.
Unscrew the potentiometers.
Unscrew the the programs selector.
Carefully take the board out.
The x9 board is out of the enclosure.
Push the ribbon cable with red connector through the footswitch hole first.
Push other three ribbon cables through the footswitch hole.
All cables securely fit the footswitch hole.
Peel off the top layer of the self-adhesive tape.
The second too.
Straighten the controller and the box.
Attach the controller to the box very slowly and carefully. The double-side adhesive tape is very strong!
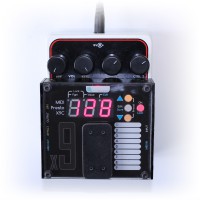
The controller is affixed on the x9 box.
Before you solder anything, ensure that all cabes from the controller are in the x9 box.
22.04.2019
Solder 4 wires with digital power supply.
Number of photos in the gallery: 4
Here are 2 soldering points for power supply: +9V and GND. There are more variants of the x9 boards.
Solder the first 2 wires of the the 6-wire ribbon cable.
Solder the +9V (brown) cable.
Solder the GND (red) cable.
23.04.2019
Split the footswitch off and solder 6 wires.
Number of photos in the gallery: 7
Split the footswitch ribbon cable off.
Use suitable splitting pliers for it.
Put more solder on the footswitch pads.
Solder these conductors in another order: 1-2-6-5-4-3 if you have an old x9 board revision "C".
Solder the 1 - 6 fooswitch wires in normal order if you have x9 board revision "D" or newer.
To solder the ends of the wires on the top of the pads is sufficient. Not necessary to go through the pads.
The 1 - 6 wires of the 6-wire footswitch ribbon cable are soldered.
24.04.2019
Cut the wipers of 4 potentiometers and solder 4 input and 4 output wires.
Number of photos in the gallery: 15
Cut the middle pin of each potentiometer.
The wiper pin is interrupted.
Spiked enough splitting pliers are the best to cut the other middle pins of the potentiometers.
Ensure that the pin is not connected with the pad anymore - straighten it.
The wiper pins are interrupted.
Put more solder on the potentiometer wiper pins.
Put more solder on the potentiometer wiper pins.
Put more solder on the potentiometer wiper pins.
Put more solder on the potentiometer wiper pins.
Solder the wires on the potentiometer wiper pins.
Potentometer wipers are connected.
Put more solder on the wiper pads and power supply soldering points.
Take W1 - W4 ribbon cable
Solder W1 - W4 digital wipers. They are in the middle of each triplet pads under each potentiometer.
Optionally glue the cables with hot melt adhesive.
25.04.2019
Solder a component with 10 pins
Number of photos in the gallery: 17
Connect the red connector to "Safiros Mux 16" component. The tip on the plug to the hole on the board!
Prepare hot melt adhesive gun.
Power supply and potentiometers wires are soldered.
Arrange the ribbon cable.
Glue on the ribbon cable and capacitors or other components on the board.
Glue on the plug and socket of the Safiros board.
Glue on the plug and socket of the Safiros board.
Wait a while until the hot melt adhesive cools down.
Cut only this one pin of the programs selector.
The pin of the programs selector is interrupted.
Continue with connected Safiros Mux 16 board.
Attach the "Safiros Mux 16" board on the pads of the programs selector.
Hold the board and solder the "0" pin.
Hold the board and solder the "5" pin.
Solder the rest of the pins.
The Safiros component is soldered.
All 10 pins must be soldered carefully.
26.04.2019
Put the x9 board in the enclosure.
Number of photos in the gallery: 17
Insert the x9 board to the enclosure.
The x9 board with installed cables is in the enclosure.
Find the original parts.
Screw the potentiometers nuts.
Screw the potentiometers nuts.
Screw the audio sockets nuts.
Attach the buttons.
The buttons are attached.
Close the lid.
Screw the lid.
Some parts are left over.
You got a self-adhesive tape with the original names of programs for each x9 pedal.
Select the right part of the self-adhesive tape for your pedal.
Remove the adhesive layer.
Stick the label.
Your x9 pedal has complete MIDI control.
Enjoy your x9 pedal with MIDI control.
MIDI Modules
Using our electronic MIDI modules, some guitar pedals can be controlled by Program ChangeControl Change
Install services
We also provide install services of the modules in our location in the Czech Republic (Central Europe). We also have our partners in the USA , Canada , Australia and France that are able to provide the install services for you. » See the list of our partners .
 Photogallery
